|
If the plan you signed up with included MS SharePoint resource, you can enable
MS SharePoint Services on your domain.
This document provides step-by-step instructions on how to:
Enabling SharePoint Services on Domain
To enable SharePoint, do the following:
- Click the Web options icon on the control panel home page.
- Select a domain to launch MS SharePoint Services.
- On the Web Service page disable FrontPage Extensions if enabled.
- Enable SharePoint by clicking the Off button:

- Create resource confirmation by agreeing to pay the presented bill.
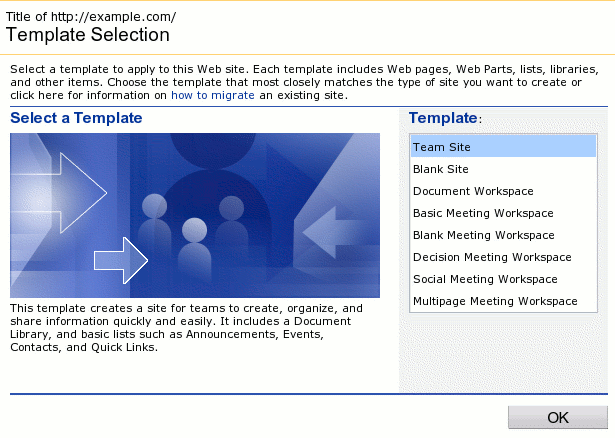
- This will open a native SharePoint popup page where you can finish the setup.
Type in your H-Sphere user login and password to enter this page:

Editing SharePoint Settings
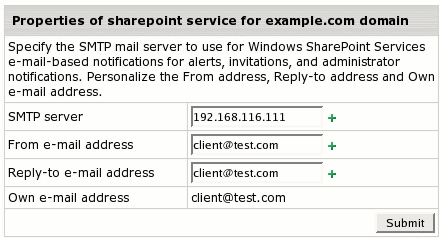
To register SharePoint Services on your domain thus making you the administrator
of such services H-Sphere needs the following pieces of information to be used
for sending electronic mail to your SharePoint users:
- SMTP server - outgoing server name
- From e-mail address
- Reply-to e-mail address
It will take your default setting for this purpose
(H-Sphere SMTP server and e-mail address from your contact info).
Later you can change these settings if needed.
Besides, H-Sphere will need an e-mail address to register SharePoint Services on.
It will also take e-mail address from your contact info, although this address is not changeable.
To edit SharePoint settings, do the following:
- Click the Web options icon on the control panel home page.
- Select the domain where MS SharePoint is enabled.
- On the Web Service page click the Edit button against SharePoint.
- Do the necessary changes on the page that appears and click Submit:

Managing SharePoint Users
Important! General Recommendations
- We recommend you to add and delete SharePoint users via H-Sphere interface.
- Users can be added/deleted via your SharePoint site as well, however at the next
synchronization of H-Sphere and SharePoint databases (their user parts) all changes
will be lost (newly created users deleted and deleted users recovered). Each synchronization
takes place at the moment of adding/deleting users via H-Sphere interface.
- All users added via H-Sphere interface become readers.
You can later change their SharePoint status to admins,
contributors etc.
Please take notice that after recovery of your provider's system these changes will be lost.
Creating New SharePoint Users from Scratch
To create a new SharePoint user from scratch, do the following:
- Click the Web options icon on the control panel home page.
- Select the domain where MS SharePoint is enabled.
- On the Web Service page click the Edit button against SharePoint.
- On the page that appears click Add new assignment:

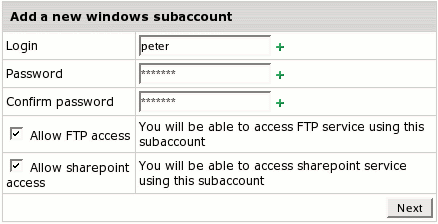
- Choose the Add a new windows subaccount and click Next:

- On the next step, choose either to Allow sharepoint access or
Allow FTP access for the same user, or both, and enter Login
sand Password that will be used by FTP subuser and SharePoint user:

- Now enter information necessary to identify the user on SharePoint website:

- If you chose to Allow FTP access as well, you need also to determine
relative home directory:

Enabling SharePoint Access for an Existing FTP Subuser
To this end, do the following:
- Repeat steps 1-4 above.
- Choose the Modify an existent windows subaccount and click Next.
- Choose an FTP subuser:

- Enter user nickname and email as in the previous section.
Deleting SharePoint Users
To delete a SharePoint User:
- Repeat steps 1-3 in the Creating New Users section.
- Click Remove this assignment for the necessary user:

|